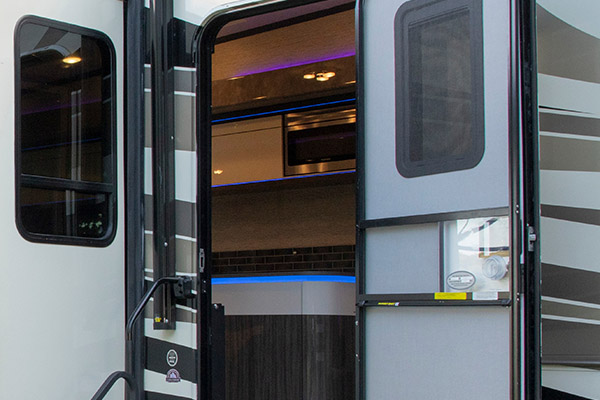
RV Door Replacement in 5 Simple Steps
Share article
On occasion, you may have to change out the entry door on your RV. We know this can seem like a daunting DIY project, but it’s not nearly as hard as it might seem. We will lay out the procedure for you here, step by step, so that you can replace the door yourself and save a lot of time and money by not paying someone else to do it for you.
Tools Needed for Replacing Your RV Door:
The first thing you will want to do is make sure you have everything you need to complete the project. These include but might not be limited to:
- Drill, either electric or cordless with driver bits and a set of drill bits
- Caulking gun with sealant
- Putty tape or PVC foam tape (for laminate wall, 1/8” max thickness, for wood wall, 1/4” max thickness)
- #8 screws for travel trailers or towables, or #12 screws for motorized RVs or motorhomes, the number of each depending on the size of the door. (It should be noted here that if yours is wood framing, do not use self-taping screws.)
- An extra person to help when needed
1. Remove the Old Door
Remove the old door from the RV by first removing the drip cap and snap trim if applicable, then remove the screws holding the door in the frame and carefully pull the door from the edge. Once removed, set it aside and out of the way.


2. Apply Putty Tape or PVC Foam Tape
If old tape is present, remove it and clean up any remaining adhesive. Place the new putty or PVC foam tape all the way around the outside of the door frame, then set the door into the rough opening using the tape to secure the door frame to the wall.
3. Secure the Door with Screws
Now, use your drill and the appropriate screws to secure the door to the frame. After entirely securing the frame to the coach, use a scraper to remove the excess tape. Make sure the door operates properly. Open and close the door several times to ensure it is working correctly. You may need to adjust the door by either adding or removing the camber from the door to get it to close and seal properly.
4. Apply a Bead of Caulk around the Entire Door
Use your caulk gun and sealant to put a bead of sealant around the entire door frame. Re-install the drip cap and snap trim if applicable.
5. Adjust the Camber
You should adjust the camber, or angle of your new entry door whenever the gap is either less than 1/8” or more than 1/4” anywhere along the vertical edge on the handle side of the door. To do this, close the door and then use a tape measure to determine where you need to add or subtract camber.
How to Adjust the Camber of an RV Door
- To subtract camber: If the camber needs to be removed from the top of the door, use a 12” to 15” 2x4 stud and place at a 45-degree angle at the bottom of the door, hold the 2x4 in place with the door and apply pressure to the top of the door.
- If the camber needs to be removed at the bottom of the door, do precisely the opposite and place the 2x4 at a 45-degree angle at the top of the door and apply pressure to the bottom of the door until you are within the range of less than 1/8” minimum gap or 1/4 “ max gap along the entire edge of the door.
- To add camber when you have no gap: Do the opposite of subtracting the camber above. Simply place the 2x4 at a 45-degree angle on the corner of the door that needs camber added and apply pressure to the opposite corner until you are within the 1/8” to 1/4” threshold and have a good seal around your door.
If you follow these simple instructions, replacing the door on your RV should be an easy DIY project that can be completed in a few hours / one day.

