The RV Setup & Tear Down Checklist You’ll Want to Keep Handy
Share article
With so many things to remember upon arrival or departure from your campsite, it can be easy to miss crucial steps during setup or tear down. To help keep your campsite setup and tear down as easy as possible, we've created a checklist of steps for you to follow at the campground. Many RVers find that following an RV setup checklist significantly improves their campground stay because they can go down the list and check items off rather than trying to keep a mental list of things to do.
Please note: These recommendations may not be fully comprehensive for your RV. Always consult the manufacturer’s owner’s manual before operating any equipment on your RV to ensure safety.
RV Setup Checklist
Need a free printable RV setup checklist? View and download it by clicking the image below.

Arrival at the Campground
Checking in at the campground should be your first step before you drive to your campsite and start your setup process. At the campground office, you’ll want to:
- Confirm with the campground office personnel that your campsite has all your requested amenities. Double-checking this will avoid any potential confusion once you arrive at your campsite.
- Ask for a map of the campground. You’ll want to know how to get to your site and where the bathhouse and dump stations are located. The map can also be helpful if the campground has hiking trails or other points of interest that you may want to visit during your stay.
- Ask for a copy of the campground rules. The campground rules usually detail speed limits, quiet times, campfire policies, pet requirements, etc. It's always best practice to respect these rules and be courteous to other campers.
Arrival at Your Campsite
Once the details of your stay are double confirmed and squared away at the campground office, you’ll want to forge ahead to your campsite. Be sure to exercise caution as you’re driving – campgrounds are a great place for children (and sometimes pets) to run and play.

Exterior RV Setup
Upon arrival at your campsite, you’ll want to take care of exterior items first. Follow the checklist below to make sure you cover all your bases.
- Disconnect any towed cars – In some cases, depending on the layout of the campground, you may want to consider doing this before you get to your campsite so that you don’t have to maneuver your RV and towed vehicle together on narrow roads.
- Walk around your campsite to check for glass, low-hanging tree branches or anything else that may cause damage to your RV.
- Once you pull your RV into the site, check to make sure you can reach the water and electrical connections.
- Ensure your slide-outs and awning will have enough room to slide out or fully extend without running into any obstacles.
- If you’re driving a motorhome, turn on your emergency brakes.
- Level your unit side to side with leveling blocks.
- Use wheel chocks to chock your tires.
- Unhook your trailer from your tow vehicle. This will also involve disconnecting power cords, safety chains and breakaway cables.
- Place support blocks under your stabilizer jacks.
- Manually level your unit front to back or engage your automatic leveling system.
- Connect your RV to shore power.
- Connect your water lines. Remember to always use a water pressure regulator so that you don’t cause damage to your plumbing system.
- Connect your sewer hose if a sewer connection is available. You’ll also want to be sure to open the valve on your grey water tank but leave the valve on your black water tank closed to avoid clogs and allow bacteria to do its job inside the tank.
- Turn on your propane.
- Roll out your RV awning.
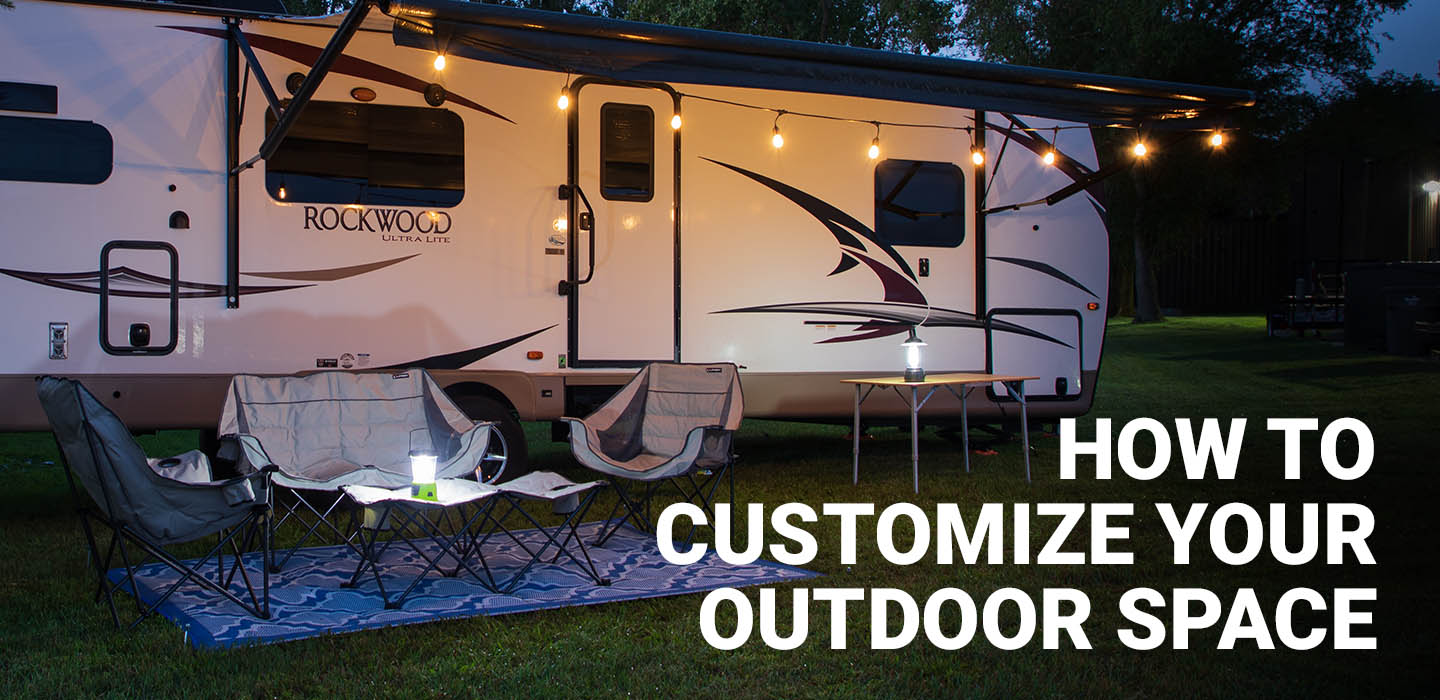
- Set up your campsite. This may include putting down an outdoor rug or patio mat, hanging up string lights, setting up your camping furniture and putting out anything else you want to accessorize your outdoor space with to make it your own.
- Lower your entry steps and get prepared to set up your RV interior.

Interior RV Setup
Now that the outside of your rig is all set up, it’s time to focus on the interior. You’ll want to check off items in the following list to make sure the inside of your camper is all set for your stay.
- Just like with the exterior, make sure your slide-outs will clear any obstacles before you extend them. Once the interior area is clear, go ahead and extend them.
- Turn on your RV refrigerator. You may want to return to the fridge and freezer or check your temperature sensor after several minutes to make sure they are properly cooling.
- Depending on the season, you may want to turn on your A/C or heat.
- Open your roof vents to keep your rig smelling fresh and clean throughout your stay.
- Light the pilot on your oven.
- Release any air in your hot water heater, then turn it on.
- Extend your antenna.
- Test your water lines by running water in your kitchen and bathroom to ensure your connections are hooked up correctly.
- Set up your interior RV furniture.
- Unpack any secured items and start making it feel like home!
Departure from Your Campsite
Following a checklist when packing up to leave your campsite is just as important as your arrival checklist. You’ll want to make sure everything is put away and stored properly to avoid damaging your RV or your belongings.

Interior Tear Down
Basically, going in reverse order of how you set up your RV, you’re going to follow the below checklist to ensure the inside of your rig is all set for travel.
- Pack away loose items on countertops and other surfaces.
- Secure and lock your cabinets, drawers, shower door and windows.
- Secure your RV furniture.
- Retract your antenna.
- Turn off all electronics, including lights, radios and TVs.
- Turn off your water heater and pump, then drain it.
- Extinguish the pilot light on your oven.
- Turn off your A/C or heat.
- Close and secure your roof vents.
- Turn off your refrigerator or set it to “in transit” mode.
- Leave enough water in your toilet to keep your seal lubricated and odors out.
- Clear off any debris that may have collected on top of your slide-outs or any interior obstacles, then retract them.

Exterior Tear Down
You’re almost there! All you need to do now is prep the exterior of your RV for travel, then you’ll be ready to hit the road.
- Put away all your camping furniture.
- Retract and secure your RV awning.
- Dump and flush your black and grey water tanks at the appropriate dump stations in the campground. You’ll want to drain your black tank first, then your grey tank so that the grey water rinses out any waste left in the hose.
- Disconnect, drain, rinse and store all your water hoses.
- Unplug your rig from shore power.
- Turn off your propane.
- Retract your stabilizing jacks.
- Hitch up to your tow vehicle and attach power cords, safety chains and breakaway cables.
- Test your trailer lights to ensure power is connected correctly.
- Remove and store your leveling blocks and wheel chocks.
- Raise your entry steps.
- Close and lock your entry door and any exterior compartment doors.
- Check your tire pressure using a TPMS.
- Walk around your campsite to ensure you’re leaving it clean and that you’ve packed away all your gear.
- Connect your towed vehicle.
- Lastly, and most importantly, ensure all your family members and pets are accounted for before you put it in drive to hit the open road.
Take Your Time
Following an RV setup and tear down checklist will help give you peace of mind as you prepare your campsite upon arrival or departure. Remember to always take your time as you’re setting up or tearing down to avoid damage to your RV or belongings and injury to yourself or family members.
After seeing our printable RV setup checklist, do you plan to use this checklist or a similar one the next time you set up or tear down camp?